My mom and I have been in the kitchen all day today, cookin’ up a Thanksgiving storm.
Although I’m not much of a cook, I do love to bake…
And in the South, nothing says Thanksgiving quite like pumpkin pie.
The actual pumpkin pie is made with Libby’s canned pumpkin – I just followed the directions on the can.
(My mom makes it every year and it tastes like it’s made from scratch!)
The crust was a little trickier, but I had the help of…

….Pillsbury refrigerated pie dough! (I didn’t have time to make my own).
This dough was really easy to work with, and one package was enough for one pie and all the leaves.
Directions:
Roll out one crust into a glass pie pan, and use the other for the decorative crust.
Start by spreading out the second crust on wax paper.
With a sharp knife, trace 26 leaf shapes into the dough.

Use the tip of a knife to sketch veins into the leaves.
Be careful – don’t press too hard!


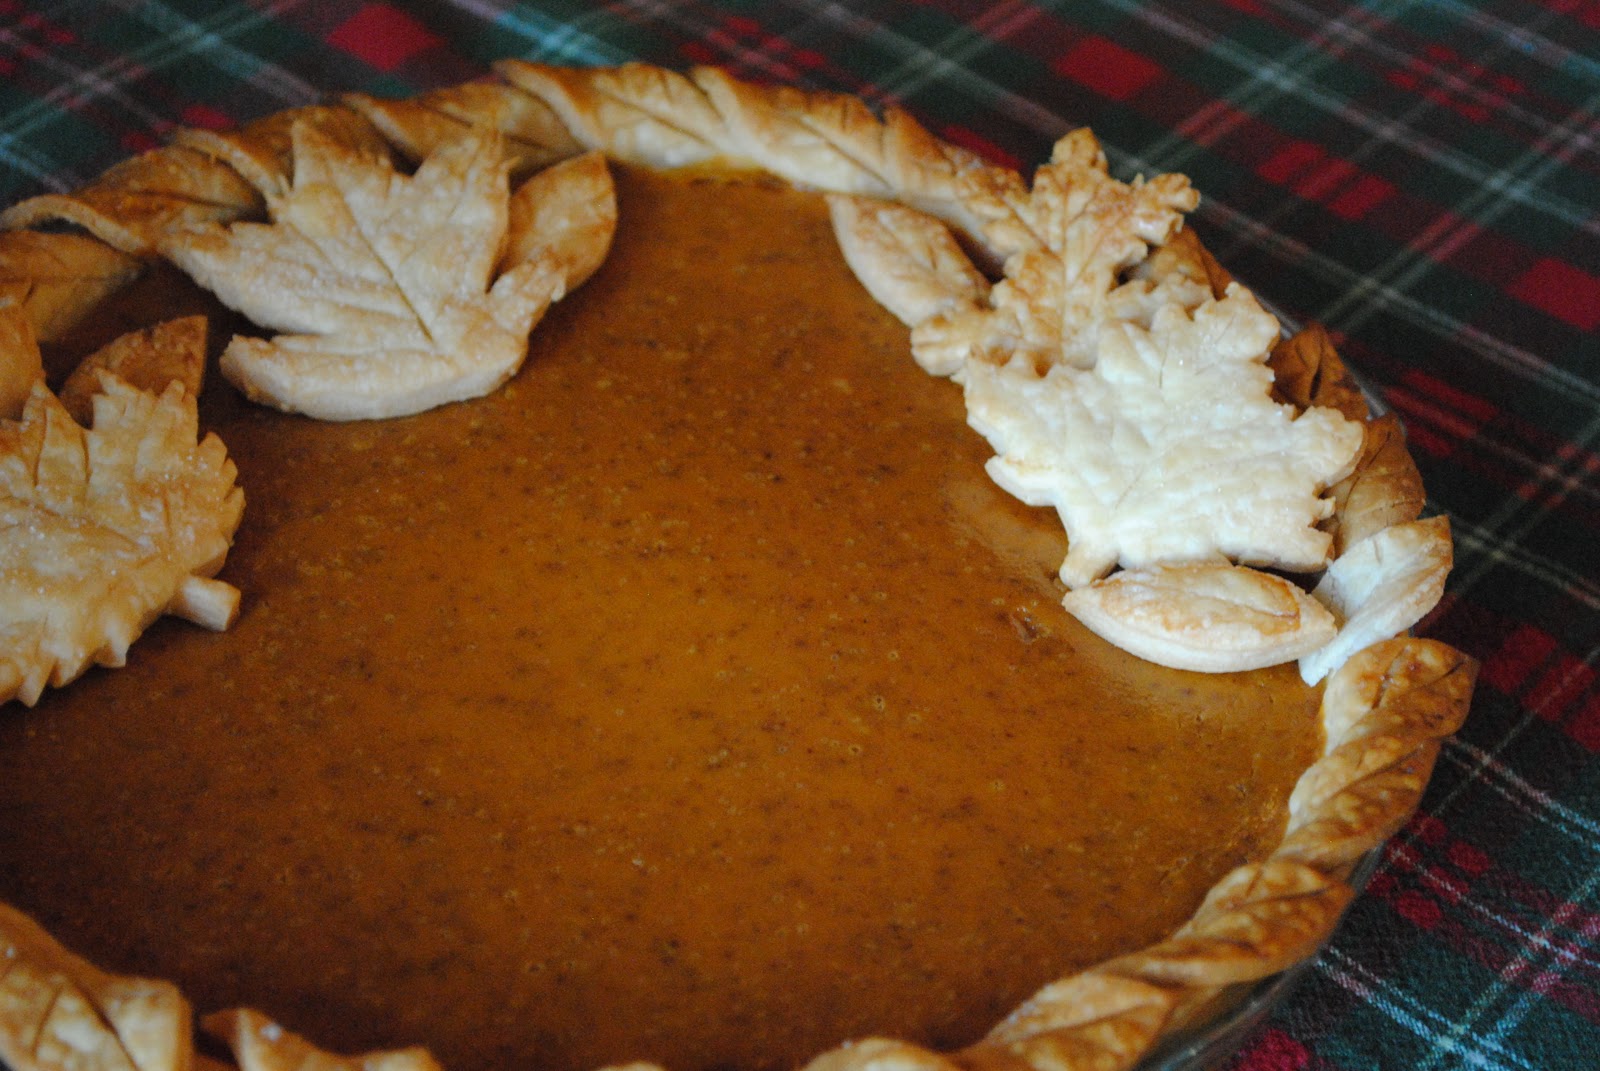
Before you apply the leaves to the actual pie crust, brush some water onto the edge of the pie. This will make it easier for the leaves to stick to the dough.
Then, begin to apply the leaves to the edge of the pie crust, with each new leaf overlapping the one behind it.

The leaves will be slightly hanging off the edge of the pan.
Keep going until the circle is completed!

You can refrigerate the pie crust until you’re ready to pour in the pumpkin pie mix.
Right before you’re ready to bake the pie, brush milk onto the leaves and sprinkle with a little sugar.
Before putting the pie in the oven, cover the edges of the crust with aluminum foil – this will keep the leaves from burning!
While the pie is baking, you can be working on the decorative leaves to place on top of the pie.
I looked up some ideas online, and then free-handed (or free-knifed?) a variety of leaves into the leftover pie dough.

Brush these leaves with milk and sprinkle with sugar to get a “shiny” look once baked.
Put your leaves in the oven for around 12 minutes at 350 degrees Fahrenheit.

When the leaves turn a golden-brown, they’re done!
I let mine cool for five minutes before applying them to the surface of the pie.


Too bad I have to wait until tomorrow to dig in!
Happy (almost) Thanksgiving! 🙂
I hope everyone is getting to spend some quality time with family!
Love, Cait


That is the cutest pumpkin pie! 😉 Love this idea! One day I want to experience a Southern Thanksgiving!
That is seriously the cutest pie ever! I wish I had done something like that with my pies!
wow! i am super impressed….it is so darn cute. happy turkey day girly 🙂
Wow, that looks fantastic! I don't do the pie, but I'd love to try that sometime.
That pie looks great! Hope you have a Happy Thanksgiving! I also just gave you a blog award!
I'm ordering all my pies from you from here on out!! Looks amazing – I love that you went to all that effort and I'm sure it will be appreciated!
This is beautiful!! I'll have to try it next year!
Caitlin you and your mom always do such cute things together! My mom and I are very impressed. And that's crazy you "free knifed!" those leaves! Mine would be a mess! 🙂
very impressive looking!
Love your pie- it looks professional! What a clever idea to decorate with. Sometimes when desserts look so pretty people have a hard time cutting into them..did that happen with yours? hehe. 🙂